Learning how to install a window ac unit can make one hot bedroom or home office comfortable without committing to a full central air replacement. The job is often manageable for a homeowner, but the details matter. A poorly supported unit can fall, leak rainwater, waste electricity, or overload an outlet. The goal is a smarter decision, not a faster yes, so take a few minutes to match the unit to the window and inspect the installation area before lifting anything.
Choose the right window AC before installation
Start with the room, not the sale price. A small bedroom may need a unit around 5,000 BTUs, while a larger living room may need 8,000 to 12,000 BTUs depending on ceiling height, sunlight, insulation, and the number of occupants. An oversized unit can cool quickly but remove less humidity, leaving the room feeling clammy. An undersized unit can run constantly and still fall behind on a July afternoon in Texas, Georgia, or the Carolinas.
Measure the window opening, including its width and height, and compare those numbers with the manufacturer’s minimum and maximum requirements. Most window units are designed for a standard double-hung window, where the lower sash slides upward. Casement and sliding windows usually require a different kit or a professional solution. Confirm that the outlet is close enough for the factory cord. Do not use an extension cord or power strip unless the manufacturer specifically permits it; many window AC units draw enough current to heat an undersized cord.
Check the unit’s weight as well. A 50-pound appliance is a different lifting job from a 90-pound model. Get another adult to help, especially when the cabinet must be held while the window is open.
Prepare the window and support area
Before learning how to install a window ac unit, inspect the sill, frame, and surrounding wall. The sill must be solid, dry, and free of rot. If you see soft wood, peeling paint, water stains, or a loose frame, solve that problem first. Installing a heavy appliance on damaged trim is a short-term fix that can create a much larger repair later.
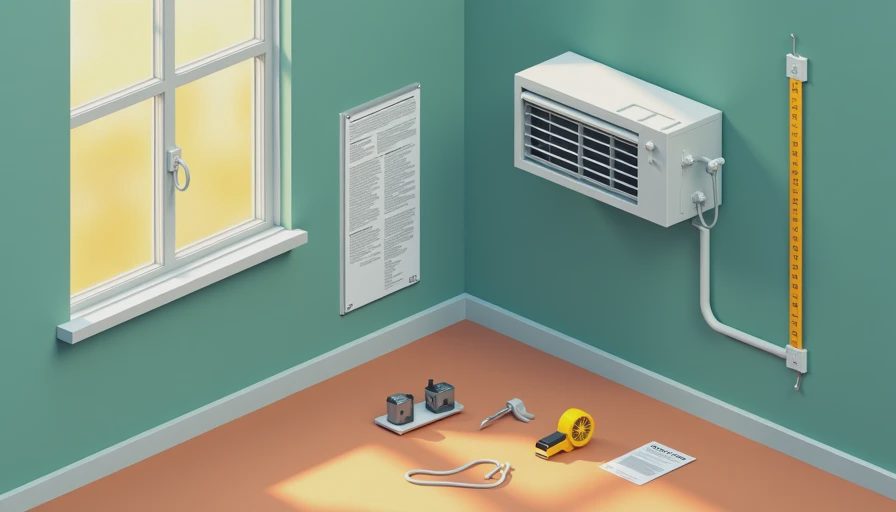
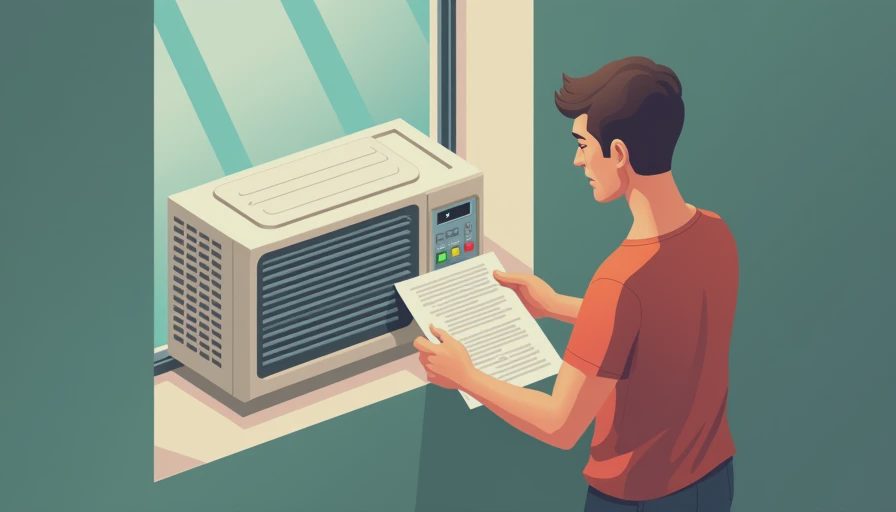
Read the complete installation manual before removing packaging. Manufacturers such as Frigidaire, Midea, LG, GE, and Friedrich use different brackets, side panels, screws, and drainage designs. Lay out the parts on the floor and identify the support bracket, accordion panels, window sash clips, foam insulation, and any exterior hardware.
Clean the sill and tracks so the cabinet sits level. If the instructions call for a support bracket, install it exactly where shown. The bracket transfers weight toward the wall and helps prevent the unit from tipping outward. Never rely on the raised window sash alone if the manual requires additional support.
How to install a window ac unit step by step
Open the lower sash and place the cabinet or complete unit on the sill with help. Keep the appliance centered unless the manual specifies another position. Most units need a slight outward tilt for drainage, but some newer models are designed to stay level and manage condensation internally. Follow the product instructions instead of guessing. Too much tilt can affect performance, while the wrong direction can send water into the room.
Lower the top sash firmly onto the top rail of the AC. Attach the sash brackets or clips so the window cannot rise. Then extend the accordion panels until they reach both sides of the opening. Fasten them to the window frame or jamb using the included screws. If you rent, ask the property manager before drilling into trim or siding.
Add the foam weather seal where the manual shows it. Small gaps around the panels can let hot outdoor air, insects, and humid air inside. A removable foam seal is usually enough for a seasonal installation. Avoid blocking the front intake or exhaust vents with curtains, furniture, or insulation.
The safest approach to how to install a window ac unit is to treat support and sealing as separate jobs. The bracket carries weight; the foam controls air movement. Neither replaces the other.
Check electrical and drainage details
Plug the AC directly into the correct grounded wall outlet. Inspect the cord for cuts, crushed sections, or heat damage. If the plug feels loose, the outlet sparks, or the circuit breaker trips, stop using the unit and have an electrician inspect the circuit. Never remove the ground pin or use a two-prong adapter to make the plug fit.
Many appliances list their electrical requirements on a label near the cord or controls. A unit requiring a dedicated circuit should not share that circuit with a microwave, portable heater, refrigerator, or other high-draw appliance. A tripped breaker is not an inconvenience to defeat; it can be a warning of unsafe electrical loading.
Condensation is normal during cooling. Some units collect water in a base pan, while others use a slinger ring to throw moisture against the condenser coil. Do not drill holes in the cabinet unless the manufacturer specifically directs you to do so. Check the room-side bottom edge after the first hour. If water is appearing on the sill or floor, turn the unit off and correct the slope, seal, or drainage issue.
Test the installation before relying on it
After the AC is secured, close nearby doors and windows and run it for 20 to 30 minutes. Listen for unusual rattling, scraping, or vibration. A quiet hum and airflow are normal; movement of the cabinet is not. Look outside, if safely visible from the ground, to confirm that the unit remains stable and that no bracket or screw is pulling away from the wall.
Feel the air at the front vent. It should become noticeably cooler than the room air after the compressor starts. If the fan runs but cooling does not begin, allow a few minutes because some compressors include a restart delay. Persistent warm airflow, repeated breaker trips, or a burning smell calls for service rather than repeated resets.
A practical part of how to install a window ac unit is checking the room after sunset and again during the next hot afternoon. Daylight can reveal gaps around panels, while nighttime operation reveals vibration that may disturb sleep. Tighten only the hardware identified by the manual; overtightening can bend the frame.
Common mistakes that cost comfort and money
One frequent mistake is buying based only on BTUs. Energy efficiency matters too. Compare the Energy Efficiency Ratio or combined energy efficiency information on the label, then consider how many hours the unit will run. A slightly more efficient model can make sense in a frequently used room, while a basic model may be adequate for occasional use.
Another mistake is sealing the front of the unit while leaving large gaps on the sides. Use the supplied panels and foam before adding removable weatherstripping. Do not use expanding spray foam around a rental window or against moving sash parts; it can make future removal difficult and damage the frame.
Some homeowners also place a window AC where outdoor storm exposure is severe. In hurricane-prone areas, follow local weather guidance and the product manual. A window unit generally should be removed or protected before dangerous wind arrives, and it should never be left operating during conditions that could allow water to enter the room.
Finally, do not assume installation solves an inefficient room. Close blinds during peak sun, replace a missing door sweep, and check whether attic heat or duct problems are affecting the rest of the house. Not every upgrade has to happen now, but a small comfort fix should not hide a larger moisture or electrical problem.
When professional help is worth the cost
Call a contractor or handyman when the window frame is rotten, the opening is unusually wide, the unit is exceptionally heavy, or the installation requires exterior bracing above ground level. An electrician is the right professional for a damaged outlet, overloaded circuit, missing ground, or frequent breaker trips. In a condominium or rental property, approval may be required before changing the exterior appearance.
For many homeowners, how to install a window ac unit is a reasonable weekend project when the window is sound and the appliance fits the opening. Spend $20 to $60 on a proper support bracket and weather seal rather than improvising with stacked books, loose wood, or tape. That small purchase protects the appliance, the window, and the floor below.
The same decision logic applies to larger home upgrades: identify the actual problem, price the fix, and avoid paying for a solution that does not fit. If the home needs cooling in several rooms every summer, compare the long-term cost of multiple window units with a ductless mini-split or central system. Let’s figure out what’s actually worth it before the next heat wave makes every decision feel urgent.