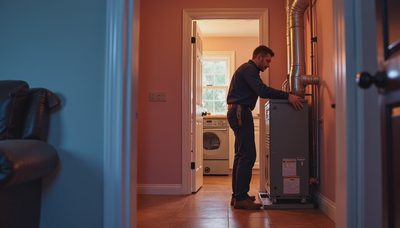
When summer arrives and the air conditioner runs most of the afternoon, cleaning a/c coils can be one of the least expensive ways to improve comfort. Dirty coils restrict heat transfer, force the system to work longer, and can contribute to higher electric bills. In hot states such as Texas, Florida, Georgia, North Carolina, and South Carolina, that extra strain can show up quickly.
The good news is that this is not automatically a replacement problem. A light layer of dust or cottonwood often responds to careful maintenance. Heavy buildup, bent fins, standing water, or an electrical issue calls for an HVAC technician. The goal is a smarter decision, not a faster yes.
What the coils do and why dirt matters
Your air conditioner has two main coil sections. The indoor evaporator coil absorbs heat from the air inside your home. The outdoor condenser coil releases that heat outdoors. Cleaning a/c coils helps both sections transfer heat as designed, although the cleaning method is different for each one.
A dirty evaporator coil can reduce airflow and leave rooms feeling damp or warm. A dirty condenser coil makes the outdoor unit struggle to release heat. You may hear the system running for long cycles, see ice forming on the refrigerant line, or notice that the thermostat setting no longer feels comfortable. Those symptoms can also point to low refrigerant, a failing blower, blocked ductwork, or a clogged filter, so coil cleaning is not a cure-all.
A standard 1-inch filter often costs about $5 to $20, while professional service for a basic coil cleaning commonly falls in the $150 to $400 range. A deeper evaporator cleaning that requires opening the cabinet can cost more, especially when access is tight.

How to clean an outdoor condenser coil safely
Turn off the air conditioner at the thermostat, then shut off power at the outdoor disconnect. Do not rely only on the thermostat; the fan and compressor need to be de-energized before you work near the cabinet. Remove leaves, grass clippings, and loose debris from around the unit first.
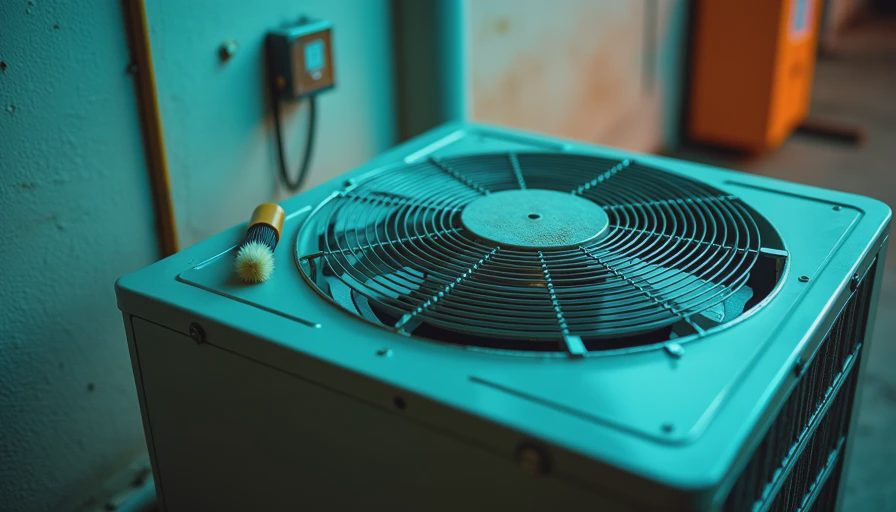
Take off the outer panels only if your equipment design makes that straightforward. Use a soft brush or a vacuum with a brush attachment to loosen surface dirt without crushing the fins. The thin aluminum fins bend easily, and flattened fins reduce airflow. A fin comb can straighten small damaged areas, but large sections of damage are better handled by a technician.
Rinse the coil from the inside outward when possible. This pushes dirt toward the outside instead of driving it deeper into the coil. Use a gentle garden-hose stream, never a pressure washer. High pressure can bend fins, force water into electrical parts, and create a repair that costs far more than the original maintenance. Avoid household bleach and aggressive drain cleaners; they can corrode metal and damage nearby components.
Cleaning a/c coils outside is usually a reasonable homeowner task when the unit is accessible and the power is off. Stop if you see damaged wiring, an oily residue, a refrigerant line problem, or a panel that will not come off safely.
Cleaning the indoor evaporator coil
The indoor coil is more complicated because it sits inside the air handler or furnace cabinet. Start by turning off power at the indoor service switch or breaker. Replace a dirty filter and inspect the return-air area. If the filter is packed with dust, the coil may also be dirty, but do not assume you can reach it by spraying through a small opening.
For light, accessible buildup, a no-rinse foaming HVAC coil cleaner can be useful when the product label approves it for your coil material. Protect electrical controls, avoid soaking insulation, and give the cleaner time to drain into the condensate pan. Never scrape aggressively across the fins. On older systems, fins and tubing can be fragile.
Cleaning a/c coils on the indoor side often deserves professional help when the coil is sealed inside a plenum. A technician can remove the access panel, inspect the drain pan, clear the condensate line, and verify that the blower is moving the correct amount of air. That combination matters because a clean coil with a blocked drain can still cause water damage or a system shutdown.
If the coil is frozen, switch the system to off and let the ice melt. Do not chip it away with a tool. Frozen coils frequently result from restricted airflow or refrigerant trouble, and running the equipment while frozen can damage the compressor.
Signs a professional cleaning is worth the money
A service call makes sense when the outdoor coil is clogged with mud, the indoor coil is inaccessible, or the system has not had maintenance for several years. It is also smart when you find mold-like growth, persistent musty odors, repeated ice, water around the furnace, or unusually high operating noise. Those clues suggest the job involves more than surface dirt.
Ask the contractor what the quoted price includes. A useful visit should identify the coil being cleaned, explain whether panels must be removed, inspect the condensate drain, and test system operation afterward. Be cautious about a vague “chemical flush” with no description of the product or the equipment being treated. Cleaning a/c coils should not automatically become a pitch for a new $8,000 to $15,000 system.
Request an itemized quote before work begins. Basic outdoor cleaning may be priced around $100 to $250, while deeper indoor work can reach $300 to $700 depending on access and buildup. Local labor rates differ, but a clear scope makes competing offers easier to compare.
How often should you schedule it?
There is no universal calendar that fits every home. Check the outdoor unit at the start of spring and again after periods of heavy pollen, storms, or lawn mowing. Homes near construction, gravel roads, cottonwood trees, or coastal salt air may need more frequent inspection. Keep at least two feet of open space around most outdoor units, and trim vegetation rather than letting vines grow through the cabinet.
Replace or clean the indoor filter according to its condition, usually every one to three months for a standard filter. Homes with pets, renovation dust, or allergy concerns may need more frequent changes. A premium filter is not always better if your system cannot move air through it; excessive restriction can create a new problem.
Many homeowners pair coil inspection with an annual HVAC tune-up before the first major heat wave. That visit can reveal a weak capacitor, poor electrical connection, blocked drain, or airflow issue while repair options are still easier to schedule.
When cleaning is not the real answer
If your unit is clean but still runs constantly, look beyond the coils. An undersized system, leaking ductwork, aging insulation, solar heat through older windows, or an inaccurate thermostat can all keep rooms uncomfortable. A technician should measure airflow and temperature change rather than simply spray cleaner and leave.
For a system that is more than 10 to 15 years old, compare repair costs with replacement timing before approving major work. A new high-efficiency heat pump or central air system can be worthwhile when the existing equipment has repeated failures, uses obsolete refrigerant, or cannot cool the home evenly. But not every upgrade has to happen now. If the equipment is reliable and the problem is a dirty coil, maintenance is usually the better first move.
Cleaning a/c coils is a small project with a sensible decision path: inspect, shut off power, clean only what you can reach safely, and get a clear diagnosis for everything else. If you want local pricing, compare contractors who explain the work instead of leading with pressure. Let’s figure out what’s actually worth it before the next hot spell turns a minor maintenance issue into an expensive emergency.